Public API
This content is not available in your language yet.
Who can do this
Section titled “Who can do this”Company Owners and Company Admins on the Elite plan.
What is available
Section titled “What is available”The Public API gives you access to:
- Clients — list, filter, and create clients
- Contacts — manage contact persons linked to clients
- Client groups — read client group structures
- Client fields — access custom field definitions and values for clients
- Tasks — list and filter tasks
- Task fields — access custom field definitions and values for tasks
- Time entries — query tracked time data
- Members — list team members
- Member groups — read member group structures
- Invoices — query invoice data
- Contracts — query contract data
- Products — list and manage products
- Topics — list task topics
- Webhooks — subscribe to real-time event notifications
All endpoints follow standard REST conventions. Use GET to read data, POST to create records, and DELETE where supported. Responses are returned as JSON.
How to enable the Public API
Section titled “How to enable the Public API”- Go to Settings & Apps.
- Find Public API in the app list (Elite features section).
- Open the app and activate it for your company.
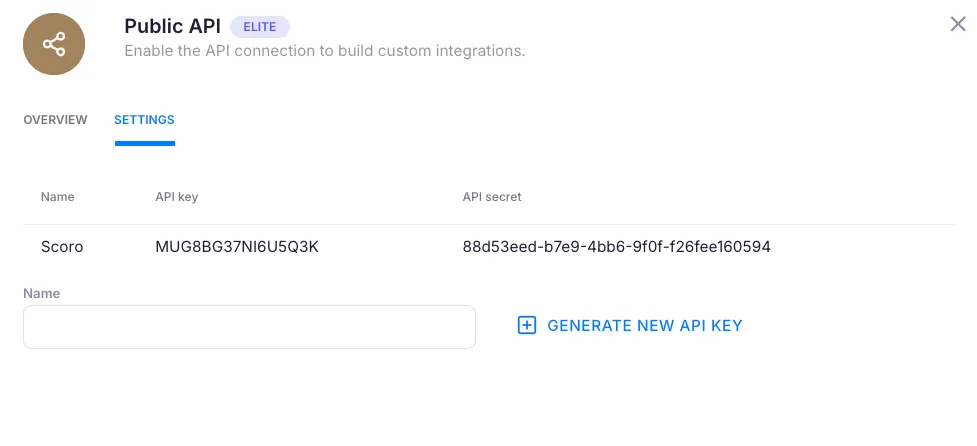
Generating and managing API keys
Section titled “Generating and managing API keys”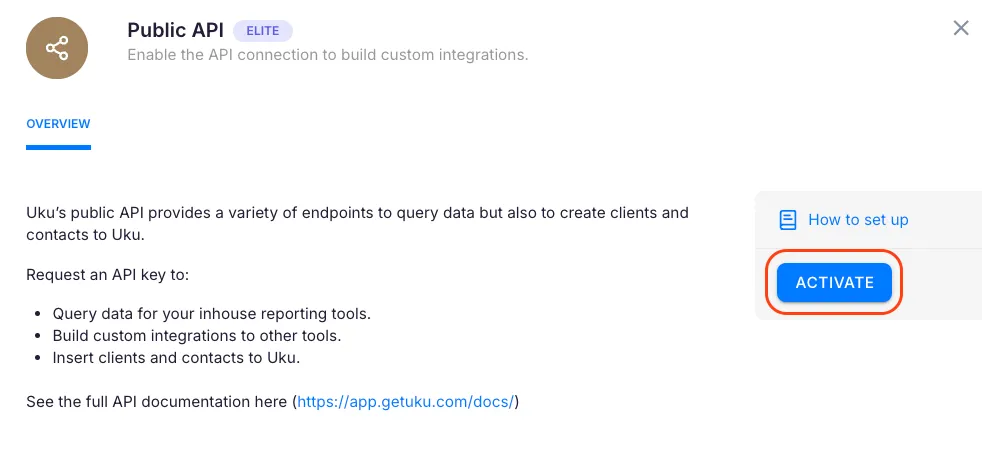
- Open the Public API app and go to the Settings tab.
- Enter a Name for your API key pair (for example, “Reporting tool” or “Zapier integration”).
- Click Generate new API KEY.
- Your new API key and API secret appear in the table. Use the copy button to copy each value.
You can create multiple API key pairs for different integrations. Delete a key pair by clicking the trash icon in the table — this immediately revokes access for any integration using those credentials.
Getting started
Section titled “Getting started”Step 1: Authenticate
Section titled “Step 1: Authenticate”Send a POST request to the login endpoint with your API key and secret:
POST https://app.getuku.com/api/v1.0/loginContent-Type: application/json
{  "api_key": "your-api-key",  "api_secret": "your-api-secret"}
The response contains a JWT token:
{ "data": { "token": "eyJhbGciOiJIUzI1NiIs..." }}Step 2: Use the token
Section titled “Step 2: Use the token”Include the token in the Authorization header for all subsequent requests:
GET https://app.getuku.com/api/v1.0/clientsAuthorization: Bearer eyJhbGciOiJIUzI1NiIs...Step 3: Explore the documentation
Section titled “Step 3: Explore the documentation”The full interactive API documentation is available at app.getuku.com/docs/sandbox/. You can test endpoints, see request and response schemas, and try queries directly from your browser.
Token expiration
Section titled “Token expiration”JWT tokens expire after 10 minutes. When a token expires, authenticate again to get a new one. Design your integration to handle re-authentication automatically.
Security considerations
Section titled “Security considerations”- Keep your API secret confidential. Treat it like a password. Never commit it to version control or share it in plain text.
- Use separate key pairs for different integrations. If one is compromised, revoke its key without affecting others.
- Tokens are short-lived. The 10-minute expiration window limits exposure if a token is intercepted.
- Delete unused keys. If you decommission an integration, remove its API key pair immediately.
- All requests require HTTPS. The API base URL uses TLS encryption. Never send credentials or tokens over plain HTTP.
- API access is scoped to your company. Each key pair is tied to a specific company — you can only access data that belongs to your company.