How to set up and configure the Client Portal
This content is not available in your language yet.
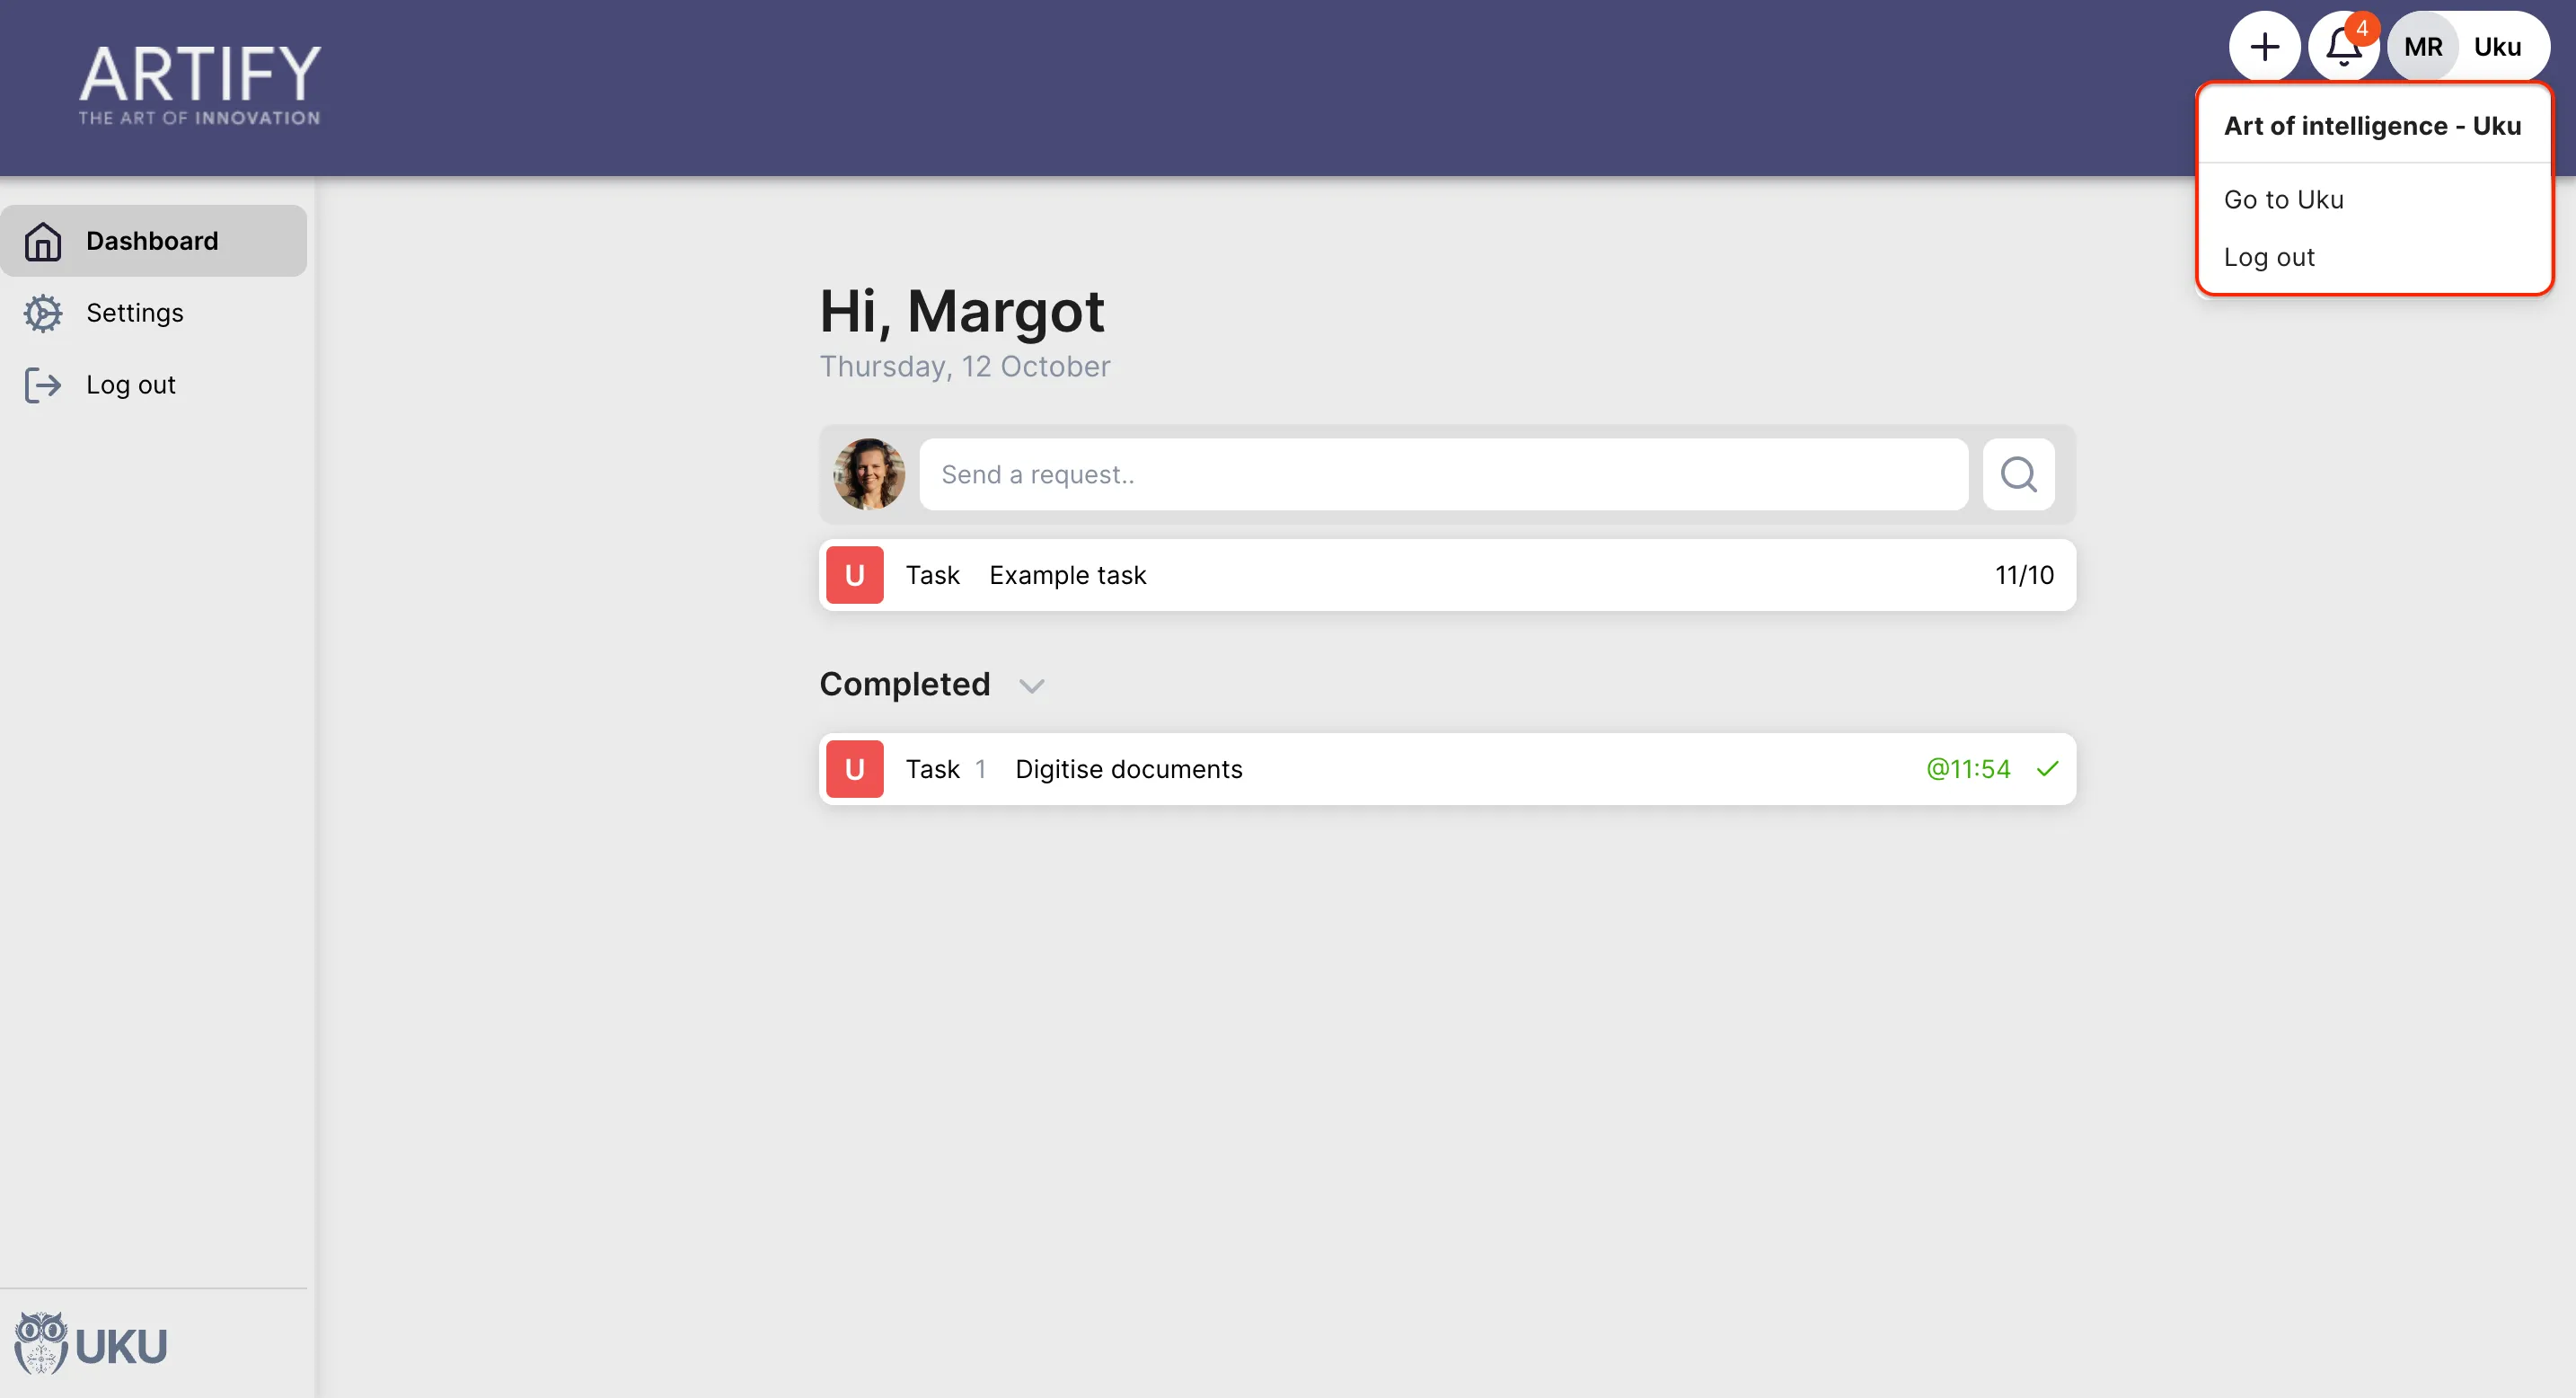
The Client Portal gives your clients a branded, secure space to view tasks, upload documents, send messages, and sign agreements — without needing an Uku account. This article covers everything a firm admin needs to do to go from zero to active portal.
Who can do this
Section titled “Who can do this”- Plan: All plans. Custom menu links in the portal navigation require the Elite plan.
- Role: Company Owners and Company Admins can activate and configure the Client Portal app. Any team member with access to a client can send portal invitations for that client.
Step 1: Activate the Client Portal app
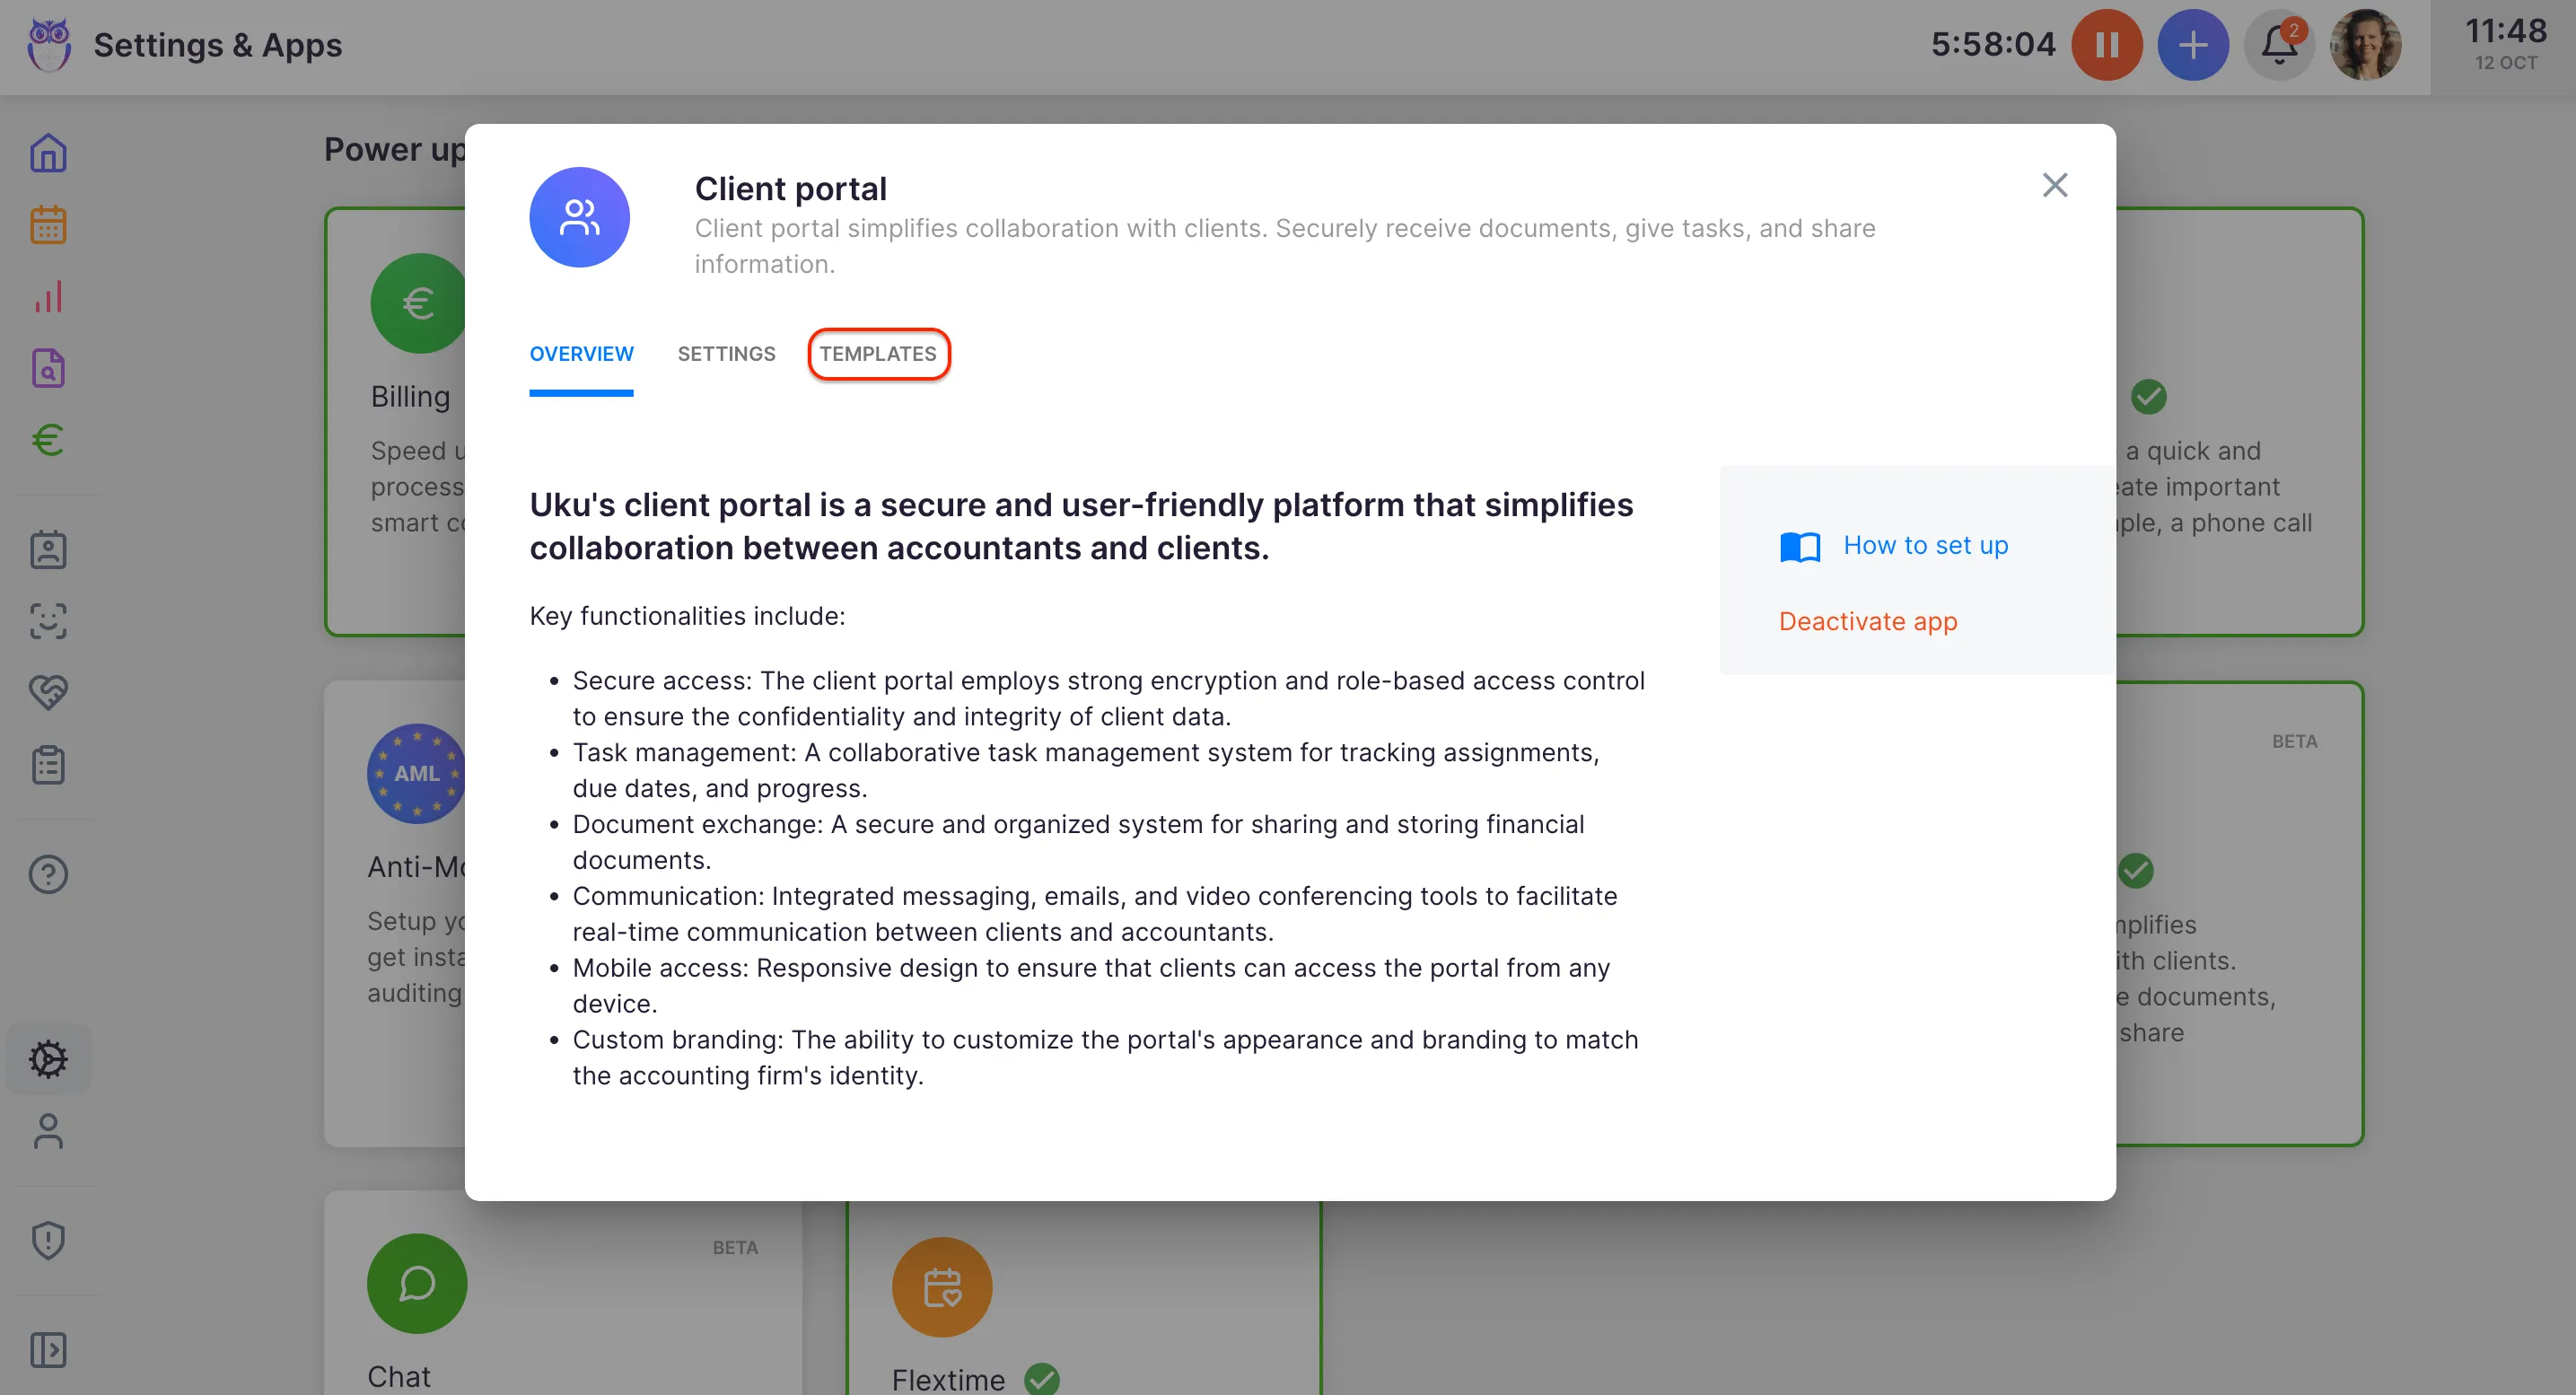
Section titled “Step 1: Activate the Client Portal app”The Client Portal must be enabled once before any client can use it.
- Go to Settings & Apps in the left navigation.
- Find Client Portal and click to open it.
- Click Activate. Uku creates the required custom fields and default task templates automatically.
After activation, the Settings, Templates, and Menu links tabs appear inside the Client Portal app dialog.
Step 2: Set your subdomain and branding
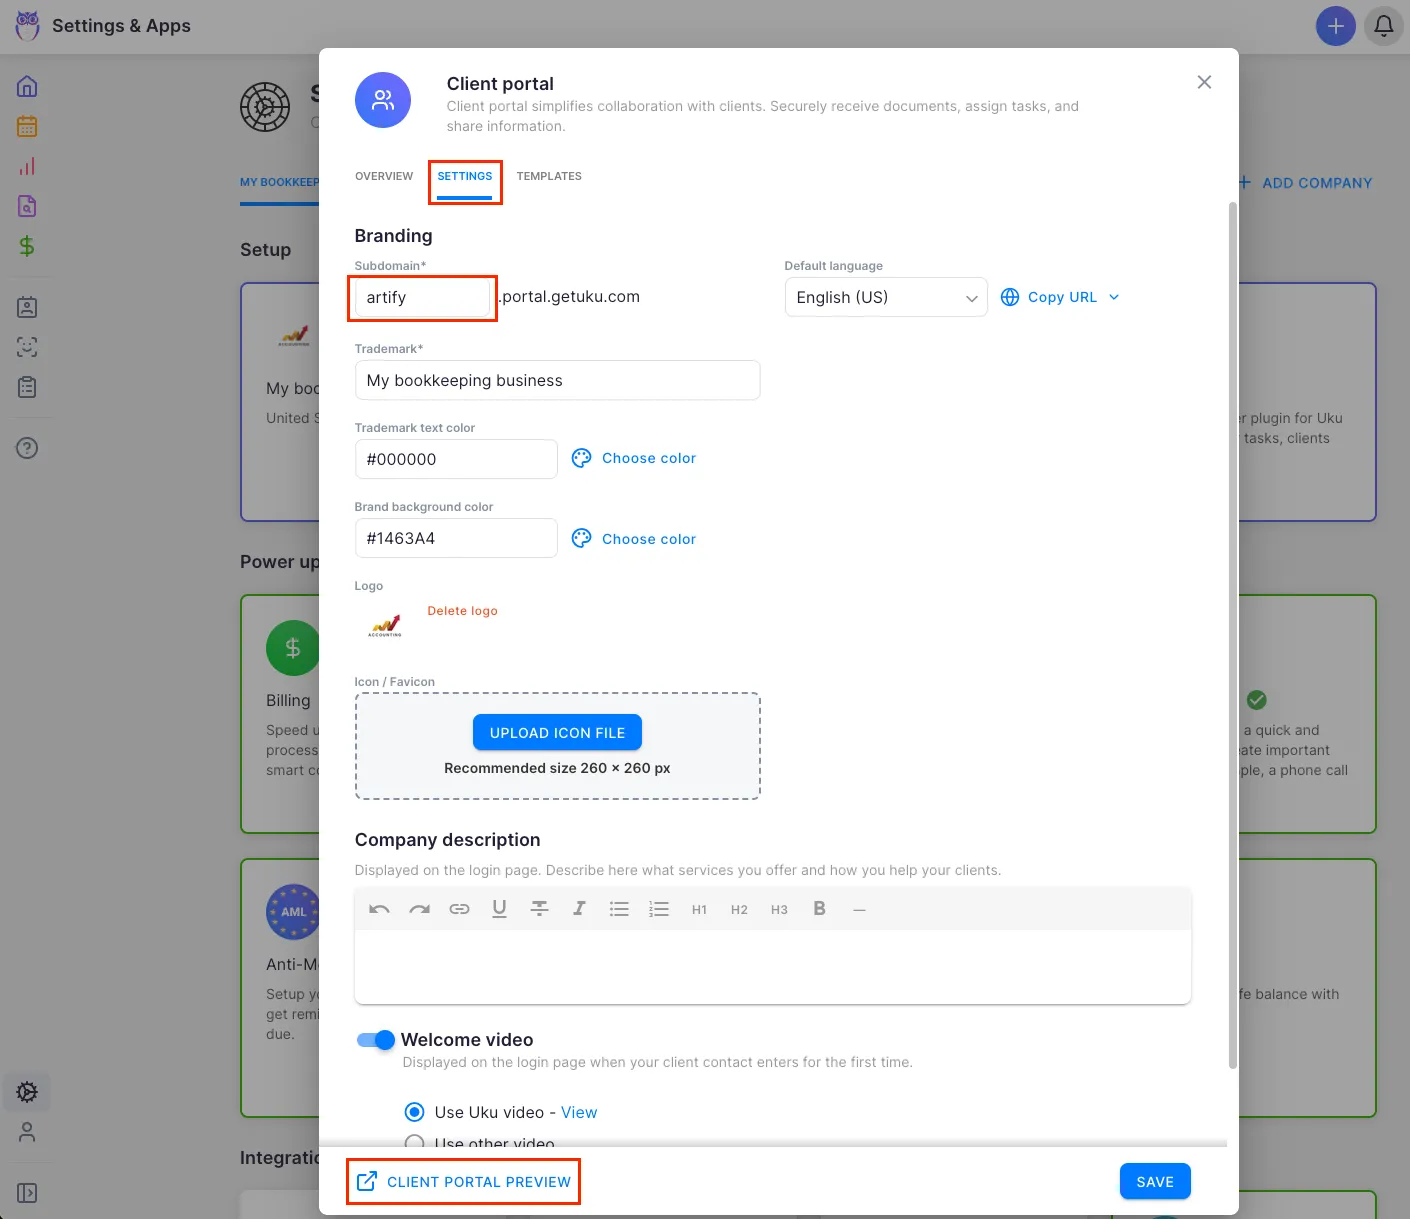
Section titled “Step 2: Set your subdomain and branding”Go to Settings & Apps > Client Portal > Settings.
Subdomain
Section titled “Subdomain”Enter a value in the Subdomain field. Your portal URL will be https://yoursubdomain.getuku.com. The subdomain may only contain lowercase letters, numbers, and hyphens. After saving for the first time, a Copy URL button appears so you can copy language-specific portal URLs to share with clients.
Trademark text
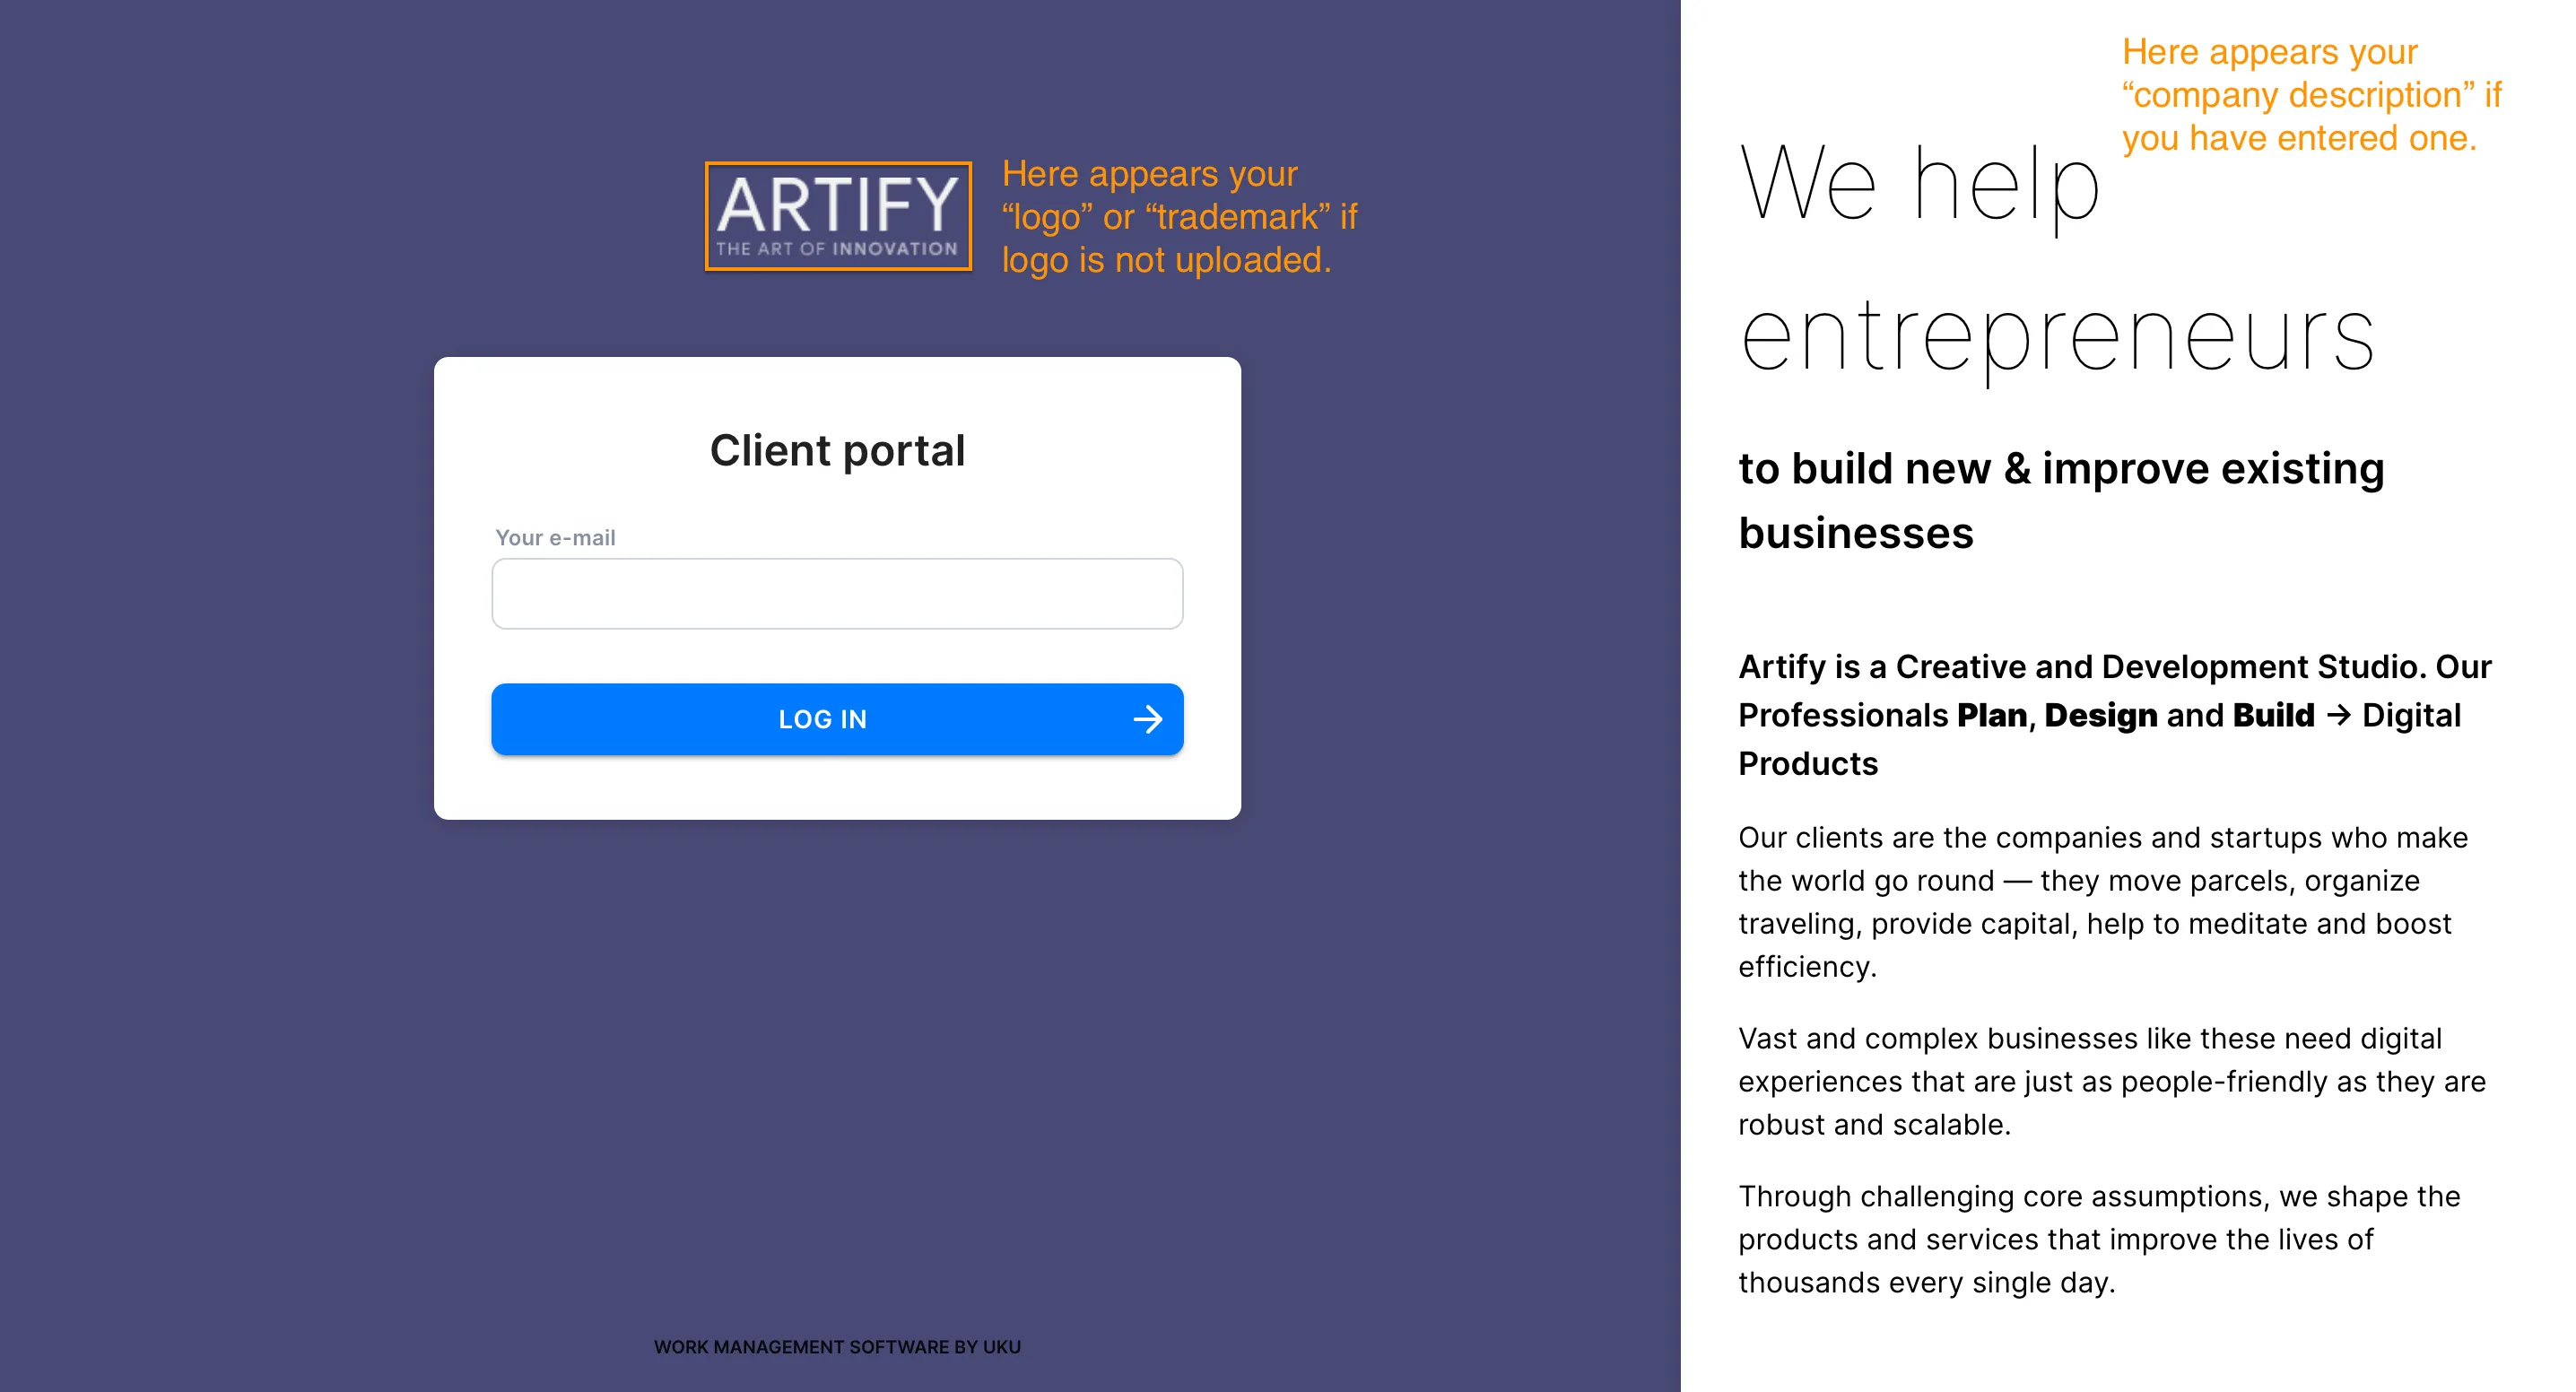
Section titled “Trademark text”The Trademark field sets the text shown in the portal header and on the login page. Uku pre-fills it with your company name (stripping legal suffixes like OÜ or Ltd). Edit it to match your brand.
Colors
Section titled “Colors”- Brand background color — the header and login screen background. Default: white (
#FFFFFF). - Trademark text color — the color of the trademark text. Default: black (
#000000). Click the color swatch to open the color picker, or type a hex value directly.
Logo and icon
Section titled “Logo and icon”- Logo — your company logo (max 180 × 60 px), shown in the portal header.
- Icon / Favicon — a square icon (recommended 260 × 260 px) used as the browser tab icon. Drag a file onto the upload area or click Upload logo file / Upload icon file. To replace an image, click Delete logo or Delete icon first, then upload a new file.
Company description
Section titled “Company description”The description appears on the login page and tells clients what services you offer. Supports rich text (bold, links, embedded video). Use this space to set expectations for first-time visitors.
Welcome video
Section titled “Welcome video”Choose what plays on the login page:
- No video — login page shows only the description.
- Uku welcome video — a pre-made onboarding video (click the link icon to preview it).
- Custom video — paste a YouTube or Vimeo URL to show your own video.
File upload toggle
Section titled “File upload toggle”Show file upload box for client tasks — when enabled (default), clients see a file upload area inside tasks. Disable this if you do not want clients uploading files through the portal.
Default language
Section titled “Default language”Set the default portal language. Clients can still switch their own language from their portal settings.
Click Save to apply all branding changes. A Client portal preview button then appears — use it to open a live preview of your portal without logging in as a client.
Step 3: Activate the portal for clients
Section titled “Step 3: Activate the portal for clients”Enabling the app does not automatically give any client access. You activate it per client.
Single client
Section titled “Single client”- Open the client record.
- Click Edit client.
- Find the Client portal toggle in the client settings section and turn it on.
- Save the client.
Multiple clients at once
Section titled “Multiple clients at once”- Go to Clients in the left navigation.
- Select the clients you want to activate using the checkboxes.
- Open the bulk actions menu and choose Activate client portal.
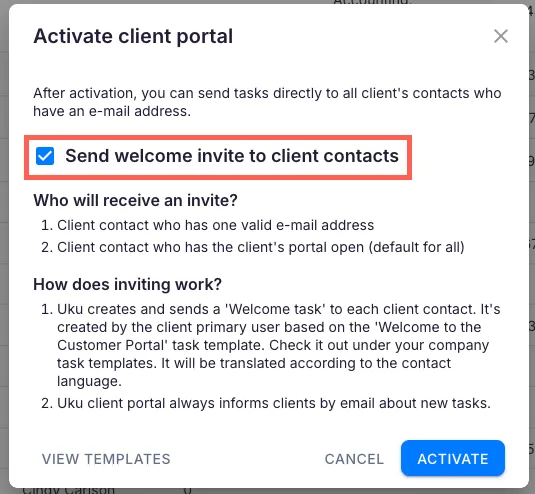
- In the dialog, decide whether to Send welcome invitation to client contacts.
- Click Activate.
Step 4: Grant access to contacts and send invitations
Section titled “Step 4: Grant access to contacts and send invitations”Portal access is controlled at the contact level. A contact can access the portal only if the Client Portal app is active for your company, the portal is enabled for their client, and their individual portal access is turned on.
Grant access to a contact
Section titled “Grant access to a contact”- Open the client record and go to the Contacts tab.
- Click the contact to edit them.
- In the contact form, find the Client portal access checkbox and enable it (labeled Access enabled).
- Save.
Currently, enabling Access enabled gives the contact the standard portal experience. Granular per-permission control (read, edit, document access) is in development.
Send the invitation
Section titled “Send the invitation”Once access is granted, open the contact’s panel and find the Client portal invite row:
- If no invite has been sent: click Send invite.
- If an invite was already sent: the date is shown and a Resend invite button is available. The invite is a magic-link email. The client clicks the link and is signed in directly — no password required. Links are valid for 7 days. After they expire, resend the invitation to generate a new one.

Step 5: Review portal templates (optional)
Section titled “Step 5: Review portal templates (optional)”Templates define the tasks created from the portal, including the welcome task sent on first invite. Go to Settings & Apps > Client Portal > Templates to view, add, or edit templates.
The welcome task is created using the “Welcome to the Client Portal” template and sent in the contact’s language if a matching translation exists. You can edit this template at any time.
Troubleshooting
Section titled “Troubleshooting”Client did not receive the invitation email
Section titled “Client did not receive the invitation email”Verify the contact has a valid email address in Uku. Check that portal access is enabled on both the client record and the contact record. Invitations can take a few minutes to arrive — ask the client to also check their spam folder. Resend the invitation from the contact panel to generate a fresh link.
Login link has expired
Section titled “Login link has expired”Magic links are valid for 7 days. Resend the invitation from the contact panel to generate a new link. The old link is invalidated when a new one is sent.
Subdomain cannot be saved
Section titled “Subdomain cannot be saved”The subdomain you chose may already be in use by another Uku account. Try a different variation of your firm’s name. The subdomain must contain only lowercase letters, numbers, and hyphens — no spaces or special characters.
Client cannot switch between companies in the portal
Section titled “Client cannot switch between companies in the portal”Each company must independently have the Client Portal app activated and the portal enabled for the client. Confirm both conditions for every company the contact is associated with.